使用 Hugo 搭建个人博客
使用 Hugo 搭建个人博客 #
Hugo 是一个用 Golang 编写的静态网页生成工具,可以用来制作静态网站。用这个工具配合 Github Pages 服务,我们可以非常轻松的搭建个人博客。
准备 #
我们需要安装 Hugo,这是一个命令行工具。在 Mac 下,我们可以使用 brew 进行安装
$ brew install hugo
为了验证我们安装,我们可以在终端下 执行 hugo version
$ hugo version
Hugo Static Site Generator v0.55.6/extended darwin/amd64 BuildDate: unknown
接下来我们需要创建一个Hugo项目,你可以用 Github 来存储这个项目也可以使用别的服务商。这里我使用了 Github。
小试 Hugo #
使用 Hugo 的命令创建一个工程
$ hugo new site myblog
成功执行后,我们可以看到 hugo 生成了一个名为 myblog 的文件夹,这个就是我们的 Hugo 项目了。
此时的项目还是一个空工程,还需要下载和设置皮肤才可以看到效果
$ cd myblog/themes
$ git clone https://github.com/htdvisser/hugo-base16-theme.git base16
打开 myblog/config.toml 增加一行关于皮肤的设置
theme = "base16"
执行本地服务
$ hugo server
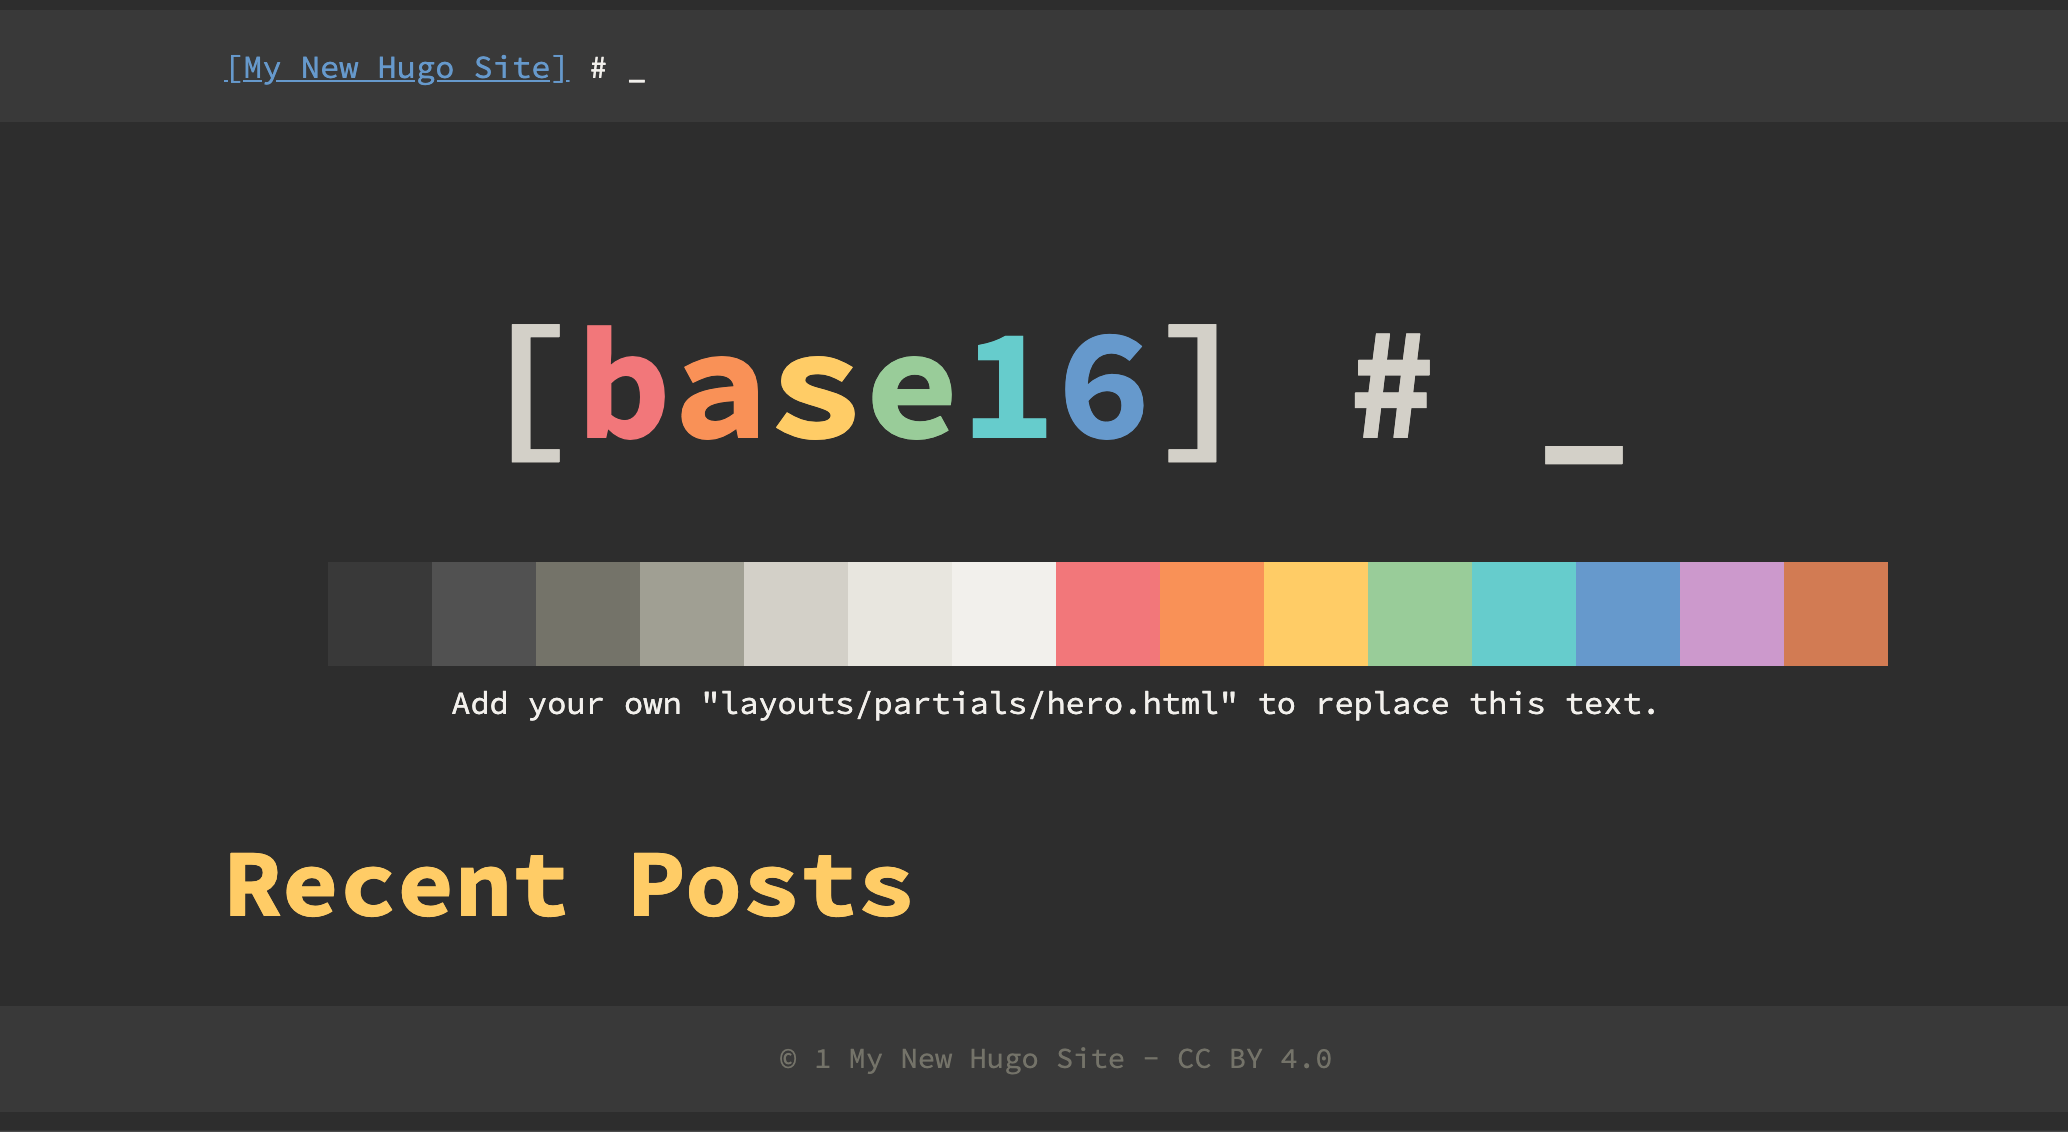
应该可以看到类似的画面了

配置 Github #
在 Github 上建立个人的主页项目,根据 Github 的规则,项目的名字需要跟 Github 的名字一致。项目的链接类似如下的形式:
https://<USERNAME>.github.io/
此项目会被 Github 默认当做行的主页。Github Page 默认会跟 master 分支进行关联,可以在 Setting 中修改。
接下来,删除我们 Hugo项目中存在 public/ 文件夹
将 public 和 Github上的个人主页项目进行关联:
$ git submodule add -b master git@github.com:<USERNAME>/<USERNAME>.github.io.git public
经过了这一步,我们将 public 下的内容和我们 Github 上个人主页项目做了关联。我们可以在生成 public 内容后,手动更新到 Github 上。为了使整个流程自动化,我们可以使用脚本。在我们建立的 Hugo 项目的根目录下创建一个脚本 deploy.sh
#!/bin/sh

# If a command fails then the deploy stops
set -e

printf "\033[0;32mDeploying updates to GitHub...\033[0m\n"

# Build the project.
hugo # if using a theme, replace with `hugo -t <YOURTHEME>`

# Go To Public folder
cd public

# Add changes to git.
git add .

# Commit changes.
msg="rebuilding site $(date)"
if [ -n "$*" ]; then
	msg="$*"
fi
git commit -m "$msg"

# Push source and build repos.
git push origin master
为这个脚本添加可执行权限
$ chmod a+x deploy.sh
这样我们每次增加文章时,只需要执行 deploy.sh 就可以了
增加文章 #
hugo 为我们提供了命令可以方便的增加内容
$ hugo new posts/my-first-post.md
你当然也可以手动在 content/posts/ 下添加文件
这里要特别说明的是静态图片,hugo 提供了静态图片的统一存储地址 static ,凡是放在 static 下的内容,都会在部署后通过 url 被访问到,例如 static/image.png 文件在部署后,可以通过 http://{server-url}/image.png 访问到。
参考 #
https://gohugo.io/getting-started/quick-start/
https://gohugo.io/hosting-and-deployment/hosting-on-github/#readout